Last updated November 21, 2026
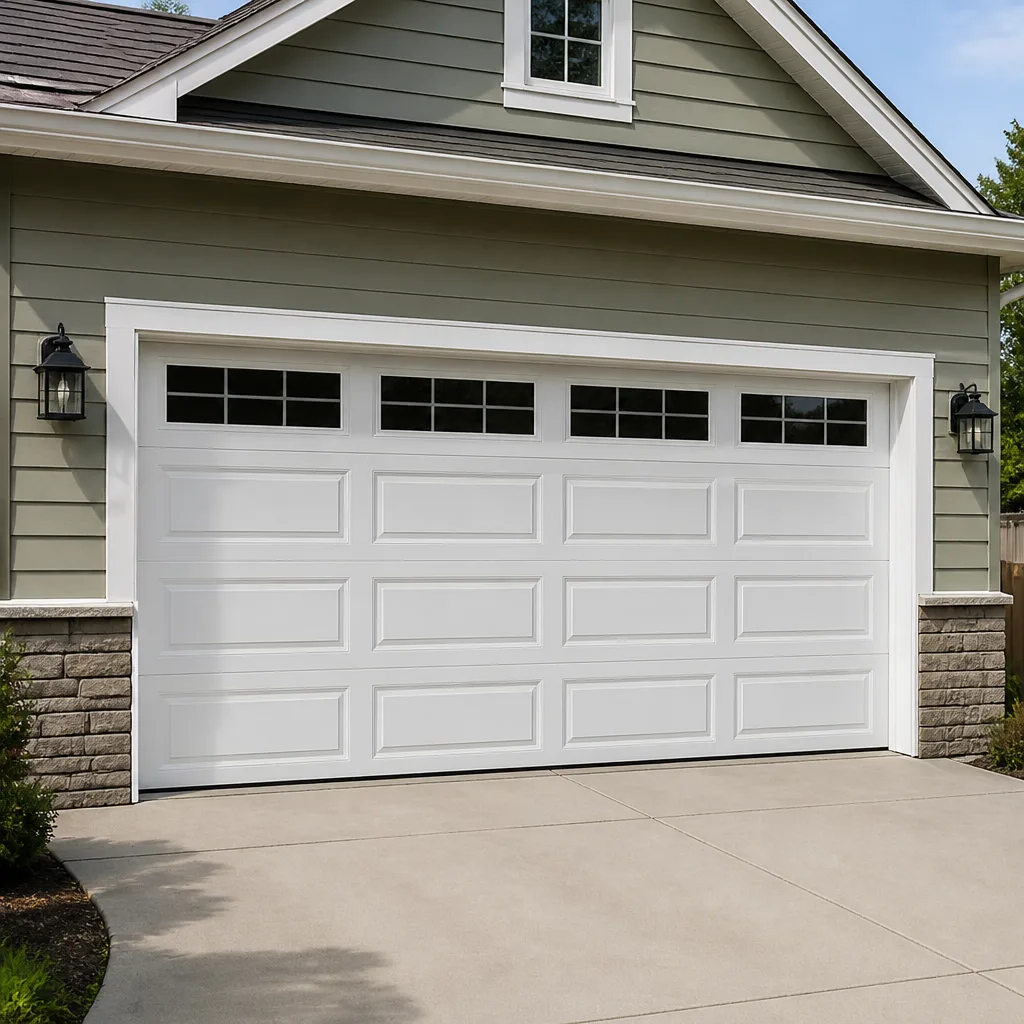 Raised-panel steel
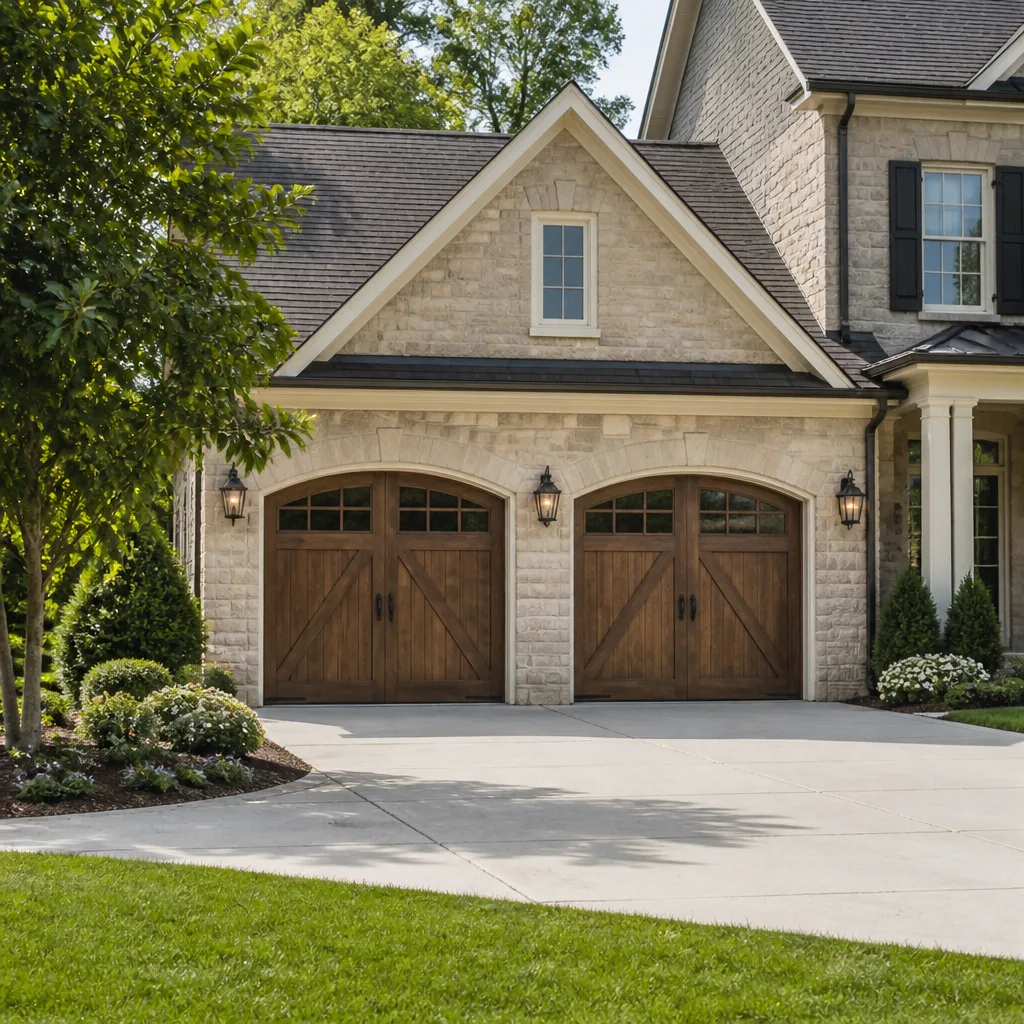 Carriage house
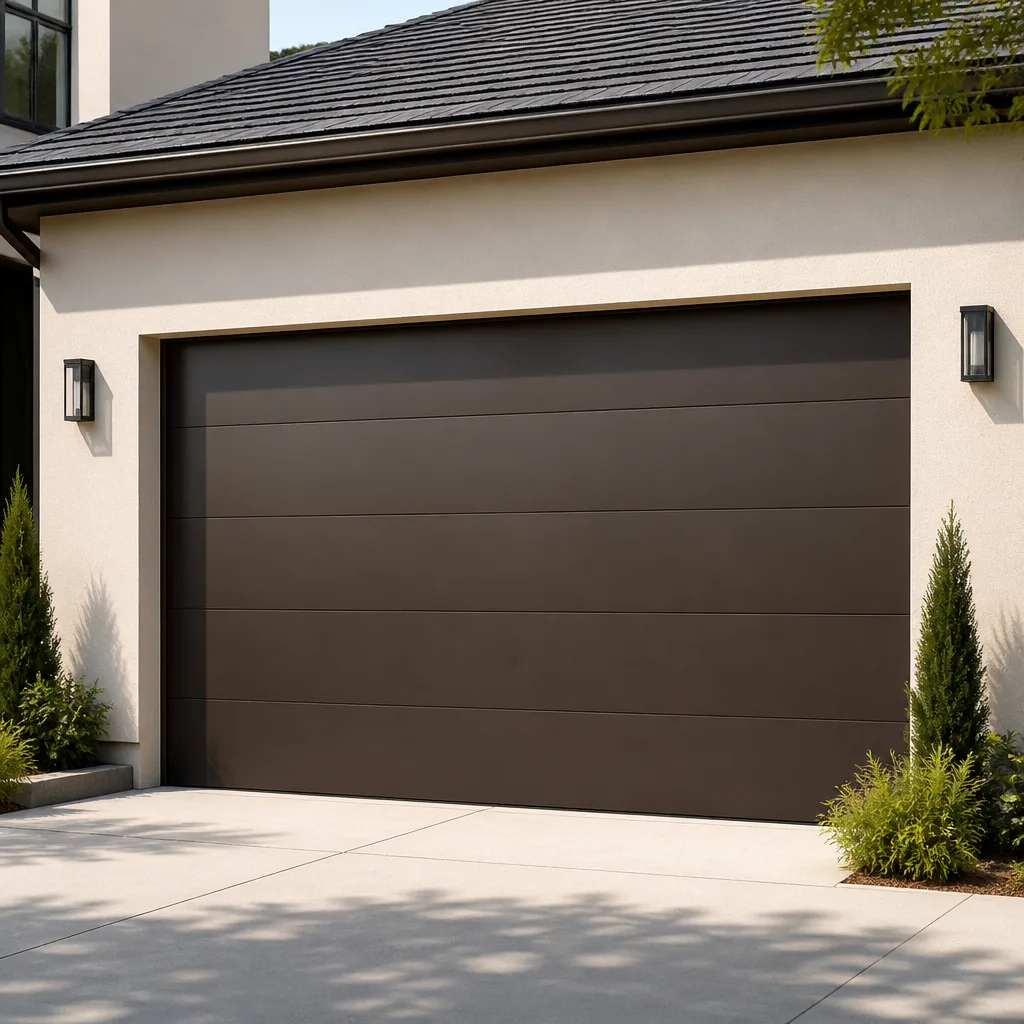 Modern flush
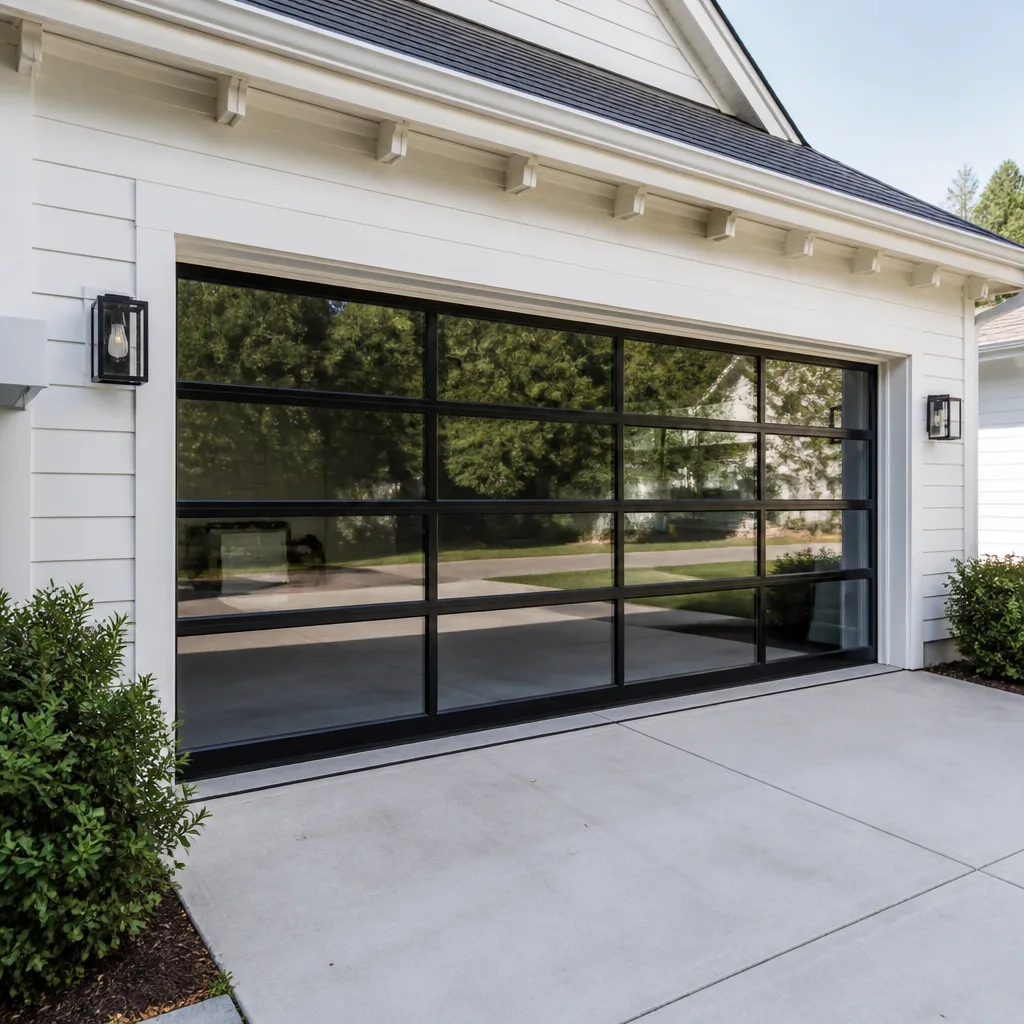 Full-view glass
 LiftMaster openers
 Chamberlain openers
Full 25-point door and opener safety check with every visit - springs, cables, rollers, tracks, and your LiftMaster or Chamberlain opener included
You get a price before we start. It does not change when the pro arrives.
Get your free estimateDIY vs Professional Garage Door: The Carmel Homeowner’s Decision Guide
Most garage door advice splits the world into “easy DIY” and “call a pro,” and that split is wrong. The real line runs through the component, not the job. Replacing a bottom weather seal is a genuine Saturday-morning task. Winding a torsion spring that stores roughly 100 foot-pounds of torque is not, and no amount of confidence changes the physics. We’ve watched Carmel homeowners handle the simple parts correctly and we’ve seen the other kind of outcome too. This guide draws that line task by task, with the tools, costs, warranty implications and insurance questions that actually decide it.
Quick Answer
In Carmel, you can safely handle weatherstripping, photo-eye alignment, lubrication, remote and keypad reprogramming, and visual inspections yourself. You should not touch torsion springs, extension springs, cables, or track adjustments made under tension – those require a trained technician because a failed spring or cable can drop a 200-pound door on a person or a vehicle. Everything else falls in between, and this guide sorts it out component by component.
Styles & brands we work with
- Raised-panel steel
- Carriage house
- Modern flush
- Full-view glass
- LiftMaster openers
- Chamberlain openers
Table of Contents
- The Component Line: What’s Safe to DIY and What Isn’t
- The Tool and Knowledge Barrier, Task by Task
- The Real Cost Math: DIY Springs vs Professional Repair
- Warranty and Insurance: What DIY Work Can Cost You Later
- The Middle Path: Diagnose Yourself, Hand Off the Execution
- Brand Matters: Why Carmel Doors Aren’t All the Same
- Carmel Seasons and Your Door: A Maintenance Calendar
- How to Diagnose Your Door Before You Decide Anything
The Component Line: What’s Safe to DIY and What Isn’t
Here’s the rule we give Carmel homeowners: a task is DIY-eligible when a mistake causes a nuisance, and professional-only when a mistake causes injury or structural damage. That’s it. Confidence, tool access and YouTube tutorials don’t move a task from one column to the other. The failure mode does.
Green light – safe for a careful homeowner:
- Replacing the bottom weather seal or the threshold astragal
- Cleaning and lubricating hinges, rollers, and the torsion bar bearings with a proper garage door lubricant (not WD-40)
- Aligning or cleaning photo-eye sensors, and straightening a bent sensor bracket
- Reprogramming remotes, wall consoles, and keypads, including after a power outage
- Tightening hinge and bracket bolts that have worked loose
- Wiping down and touching up painted steel panels, and clearing debris from the tracks with a damp cloth
- Adjusting opener force and travel limits through the opener’s own menu, following the manual
Red light – professional only:
- Any work on torsion springs, including winding, unwinding, or replacing them
- Extension spring replacement and the safety cable that runs through them
- Cable replacement, reseating a cable on a drum, or anything involving the cables under load
- Track realignment when the door is under spring tension
- Replacing a broken center bearing plate or an end plate
- Panel replacement on a door with an intact spring system (the door needs to be de-tensioned first)
- Any diagnosis that requires the door to be held open partway while you work underneath it
The red list has one thing in common: stored energy. A torsion spring at rest holds the full weight of the door. A wound spring holds more. When one lets go, it doesn’t gently release – it snaps, and the door comes down. Our technicians have up to 9 years of experience and even we treat that list with the same caution on every call in Carmel.
The Tool and Knowledge Barrier, Task by Task
“You’ll need a ladder” is the advice you get from generic guides, and it’s useless. The real barrier isn’t height – it’s the specific instruments and reference numbers each task requires. Here’s what each DIY-eligible job actually asks of you.
Weather seal replacement
You need a utility knife, a putty knife or flat bar, and the correct profile seal for your door’s bottom retainer. The knowledge barrier is matching the profile: Clopay, Amarr, and Wayne Dalton doors use different retainer shapes, and a seal that doesn’t seat properly will leak and tear. Measure the retainer slot width and the door width before you buy.
Photo-eye alignment
The only tools are your hands and a level. The knowledge barrier is understanding that the sensors need line of sight, not just proximity – a spiderweb across the lens or a sun beam hitting the receiver at certain hours will trip the door even when the brackets look straight. Check both lenses with a phone camera; the infrared LED shows up as a purple dot on the sender.
Lubrication
You need a lithium- or silicone-based garage door lubricant, a rag, and 20 minutes. The barrier is restraint: too much lubricant on the tracks attracts grit and packs the rollers. Lubricate the hinges, the roller stems, and the torsion bearings – never the track surface itself. Wipe off excess.
Opener reprogramming
The tool is the manual, or the model number on the back of the motor head. The barrier is generational: LiftMaster and Chamberlain units from the last decade use Security+ 2.0 rolling codes, older Genie units use Intellicode, and a Craftsman remote from 2005 won’t talk to a 2024 opener no matter how many times you press the button. Match the remote generation to the opener generation before you buy a replacement.
Spring balance verification (the diagnostic task most homeowners miss)
Here’s the one we get asked about constantly. A tension gauge isn’t required to diagnose a failing spring, but it’s the tool a technician uses to verify balance after a repair. Without one, you can still do a rough check: disconnect the opener, lift the door halfway by hand, and let go. A properly balanced door stays put. A door that drops has a spring problem. A door that rises on its own has a spring that’s too tight. That check is safe and tells you whether to call. Do not attempt the spring repair that follows.
The Real Cost Math: DIY Springs vs Professional Repair
The DIY spring math looks favorable on paper and gets worse the longer you think about it. A replacement torsion spring and the two winding bars cost less than a service call from a professional. But that comparison only holds if the job goes perfectly, and it leaves out two variables that homeowners rarely price in: the probability of a failed attempt and the cost of what happens when it fails.
In the Carmel market, professional torsion spring replacement typically runs in the mid-hundreds for a single spring, and a matched pair usually costs about twice a single spring because the two are replaced together. Cable replacement, track realignment, and opener repair each have their own service ranges and are quoted per job. The written estimate sets the final price – you’ll know the number before any work starts.
Now the DIY side of the table:
- Parts: $40 to $90 for a quality torsion spring and winding bars
- Tool rental or purchase: $20 to $60 if you don’t own a socket set and C-clamps to hold the door
- Time: 1 to 3 hours if it goes well; longer if you get stuck mid-wind
- The failure branch: a wound spring that slips off the winding bar can break a wrist, shatter a forearm, or take out an eye. That’s not a scare line – it’s the actual failure mode every spring manufacturer warns about, and it’s the reason the task sits on the red list.
- The near-miss branch: a door dropped during the attempt dents a car hood, cracks a concrete floor, or bends a panel that costs more than the spring did.
The honest way to frame the math: the professional price is the ceiling on what the job costs. The DIY price is the floor. For a task where the top of the range includes an emergency room visit and a vehicle repair, the professional price is the safer number to compare against. We’ve said this before and we’ll say it again – spring repair is one of the few jobs in the home where the cheapest path is the one that ends with a written quote.
Warranty and Insurance: What DIY Work Can Cost You Later
Two years after a DIY repair, the cost can come back through channels the homeowner never considered at the time. Manufacturers commonly void or narrow their warranty if a component is worked on by someone other than a qualified technician, and homeowners insurance adjusters look at cause when a claim involves the garage door. Knowing how each responds is part of the decision, not an afterthought.
How manufacturers respond
Clopay, Amarr, Wayne Dalton, and Raynor all publish warranty terms that tie coverage to proper installation and service. If you wind a torsion spring yourself and the door later fails at the drum or the bearing plate, the warranty claim starts with a question about who did the work. There’s no way to answer that favorably. The opener side is separate: LiftMaster, Chamberlain, Genie, and Craftsman warranties cover the motor and the logic board, and they can be narrowed if the opener has been forced against a door that won’t open – which is exactly what happens when a homeowner keeps pressing the button on a door with a broken spring.
How insurance responds
An adjuster looking at a garage door claim – vehicle damage, water intrusion after a door failed to close, or an injury – is establishing three things: what failed, why it failed, and whether the failure was caused by negligent or improper work. A door that was serviced by a trained technician and failed on a component that was correctly installed usually clears that review. A door that failed after a DIY spring or cable job invites the adjuster to look harder at the maintenance history, and a denied claim is a much bigger number than the service call you saved.
None of this says you can’t touch the green-list tasks. Weather seal and lubrication don’t void anything. It says the red-list tasks carry a warranty and insurance tail that never appears on the DIY price tag.
The Middle Path: Diagnose Yourself, Hand Off the Execution
There’s a middle path most homeowners skip, and it’s where the real savings hide. You can do the diagnosis and the parts research yourself, then hand the execution to a technician – saving time and getting the right fix on the first call, without taking on the risky components. Here’s how that works in practice.
- Identify the symptom precisely. “The door is broken” isn’t a diagnosis. “The door opens six inches then reverses,” “The door is heavy when I lift it by hand,” “The opener runs but the door doesn’t move,” and “The door is crooked on one side” are four different problems with four different fixes.
- Check the obvious and free things first. Is the door locked? Is the wall console in vacation mode? Are the photo eyes blocked? Has the breaker tripped? These cost nothing to rule out and they account for a surprising share of “emergency” calls.
- Note the brand and model. Write down the opener brand and model from the back of the motor head, and the door brand if it’s stamped on a hinge or the bottom bracket. When you call, that information saves a diagnostic step and lets the technician arrive with the right parts. We work on the brand already in your garage – LiftMaster, Chamberlain, Genie, Clopay, Amarr, Wayne Dalton, Craftsman, and Raynor – so you don’t need to replace anything to get service.
- Decide whether the task is on the green or red list. If it’s green, do it. If it’s red, call before you touch anything.
- Get the quote first. A written estimate before the work starts is the norm for a specialist. If the number changes on arrival, that’s a conversation, not a surprise invoice.
This approach also solves the biggest frustration with the DIY-first path: buying the wrong part. Homeowners order a spring for a door that’s rated for a different cycle count, order the wrong bottom seal profile, or buy a remote that won’t pair with their opener. Diagnosis-plus-handoff eliminates that waste. You know the problem, you get a professional repair with a warranty behind it, and you never spend a Saturday returning parts.
One more note on the middle path: it works for emergency situations too. If your door won’t close at night, the ability to describe the symptom accurately gets you a faster, more accurate quote – and that matters when the door is stuck open. Our Carmel Garage Door Repair Co team fields emergency calls for exactly this kind of failure, when the door is compromising security or access.
Brand Matters: Why Carmel Doors Aren’t All the Same
Carmel’s housing stock spans a wide range of vintages, and the equipment in the garage follows the build year. A door installed with a new subdivision in the last decade is more likely to carry a newer Clopay or Amarr door with a LiftMaster or Chamberlain opener. An older home often has a Wayne Dalton or Raynor door with a Genie or Craftsman opener – equipment that’s still serviceable but needs a technician who knows its parts. The brand you own changes which repairs are simple and which are tricky, so it changes the DIY calculus.
Here’s what that means task by task:
- Wayne Dalton doors with the TorqueMaster spring system pack the spring inside a tube, and the tooling to wind it is specific to the brand. A generic set of winding bars won’t do it. This is professional-only, full stop.
- Raynor doors often use a specific torsion spring offset and end plate geometry. Replacing a broken spring requires the right spring spec, not a universal one.
- Craftsman openers predate the Security+ 2.0 standard used by newer LiftMaster and Chamberlain units. A homeowner trying to program a new remote can spend an hour before learning the remote is for the wrong generation.
- Amarr doors use panel profiles that vary by model line, so a weather seal that fits one Amarr door may not fit another.
For the DIY list – lubrication, photo eyes, weather seals, remote programming – brand awareness helps you buy the right part the first time. For the red list, brand awareness tells you whether there’s any chance of DIY at all, and often there isn’t. When the job calls for a technician, call a specialist who works across the major brands rather than a generalist who’ll improvise the repair. That’s why our garage door repair service is built around brand compatibility, and why our garage door opener repair work covers the full ecosystem of smart, belt-drive, chain-drive, and wall-mount units across LiftMaster, Chamberlain, Genie, and Craftsman lines.
Carmel Seasons and Your Door: A Maintenance Calendar
A garage door in Carmel works through four distinct seasons, and the cycle of temperature swings is one of the biggest drivers of what fails and when. We see the pattern repeat every year, and it tells you exactly when to do the green-list tasks yourself and when to schedule a professional check.
Late winter and early spring is the highest-risk window for spring failure. The door has been cycling hundreds of times through freeze-thaw and the spring has been repeatedly stressed. If your door sounds heavier than it used to, or the opener strains at the start of its travel, this is the season to get the balance checked. Spring repair is one of the most commonly mishandled jobs in the trade, so a balance check before failure is worth far more than a DIY attempt after.
Spring and early summer is the right month for the DIY maintenance list: clean the tracks, lubricate the hinges and bearings, replace a wearing bottom weather seal, and test the photo eyes. The seal takes the most wear over a Carmel winter, and replacing a torn threshold seal in May keeps rain and meltwater out of the garage bay all summer.
Summer is the season for opener and remote housekeeping. Doors get heavy use in warm weather, and if the opener is older, the logic board and the drive belt take the strain. Listen for a grinding sound, a hesitation, or a thump at the end of travel. Those are the symptoms that turn into a burned-out opener if left, and the reason we break out opener repair as its own specialization – the opener is a separate system from the door, and it needs a separate diagnosis.
Fall is the prep season. Schedule any professional work you’ve been deferring – a track realignment, a spring replacement, a cable that’s started to fray. And if the door is beyond repair, this is the season to talk through a replacement with our garage door installation team, so the new door is measured and ordered before the cold hits. Installation work is scheduled, not same-day – a free measure and a written price come first, then the install.
One local wrinkle: Carmel winters bring ice and snow that can freeze a bottom seal to the driveway, and the first press of the opener in the morning is the moment a weakening spring finally gives. If the door won’t move after a cold snap, stop pressing the button and call. Forcing it compounds the damage.
How to Diagnose Your Door Before You Decide Anything
Before you decide DIY or professional, you need to know what’s actually failed. The diagnosis is free and safe if you follow these steps in order, and it tells you exactly which column of the red/green list your problem falls into.
- Listen. Open and close the door from the wall console. A snap or a bang from the torsion bar is a spring. A grinding from the overhead track is a roller or bearing. A humming motor with no movement is an opener.
- Look at the spring. With the door closed and the opener disengaged, and without reaching near or under the spring bar, look at the torsion spring above the door. A torsion spring with a clean, visible gap in the coil has broken. Extension springs along the upper tracks: a stretched or dangling spring has broken. Do not touch either.
- Check the door balance. Disengage the opener (usually a red pull cord on the rail), lift the door halfway by hand, and let go. A properly balanced door stays where you leave it. A door that drops, or that rises on its own, has a spring issue or a balance issue. Stop here and call.
- Test the photo eyes. Wave something across the beam while the door is closing. If the door doesn’t reverse, the eyes need cleaning or realignment, or the wiring needs checking.
- Check the opener force and travel limits. Consult the owner’s manual for your specific model – every opener brand uses a different sequence. If the door reverses just before closing, the travel limit is often the culprit.
- Inspect the tracks and rollers. A roller that’s chipped or a track with a visible kink is a sign the door is tracking wrong. A kinked track under tension is not a DIY fix.
Whatever the diagnosis, one habit saves money: don’t keep operating a broken door. A door with a broken spring or a bent track stresses the opener, cracks panels, and turns a repair into a replacement. When a door won’t close, whether it’s a jammed track or a snapped spring in Carmel, the cost of waiting is usually higher than the cost of the call.
Common Mistakes to Avoid
- Winding a torsion spring with sockets or screwdrivers instead of proper winding bars. The bar is designed to slip out of the winding cone in a controlled way; a socket can catch and spin the wrong direction, and that’s the injury scenario. Never attempt this.
- Using WD-40 on the tracks. It’s a solvent, not a lubricant, and it attracts grit that will accelerate roller wear. A proper garage door lubricant is the only thing that goes on the hinges and roller stems.
- Replacing one spring of a matched pair. If one torsion spring snapped, the other is at the same age and will snap next. Replacing both together avoids a second service call and a second window of downtime.
- Ordering parts before confirming the model. A spring spec that’s off by a size changes the balance and stresses the opener. A bottom seal for one Amarr or Wayne Dalton model won’t fit another. Measure the door and note the model before you buy.
- Forcing an opener against a door that won’t open. This is the number one cause of burned-out opener logic boards and a warranty problem. If the door won’t move by hand, stop pressing the button.
- Ignoring the annual balance check. A spring that’s slightly out of balance shows up first as a door that’s harder to lift. Catching it on the check costs a service call. Catching it after failure costs a repair, a door, or worse.
- Guessing at the repair based on a video that used a different door brand. A TorqueMaster wind is different from a standard torsion wind, and a Security+ 2.0 program sequence doesn’t work on a Craftsman. Match the tutorial to your model, or call.
See the difference
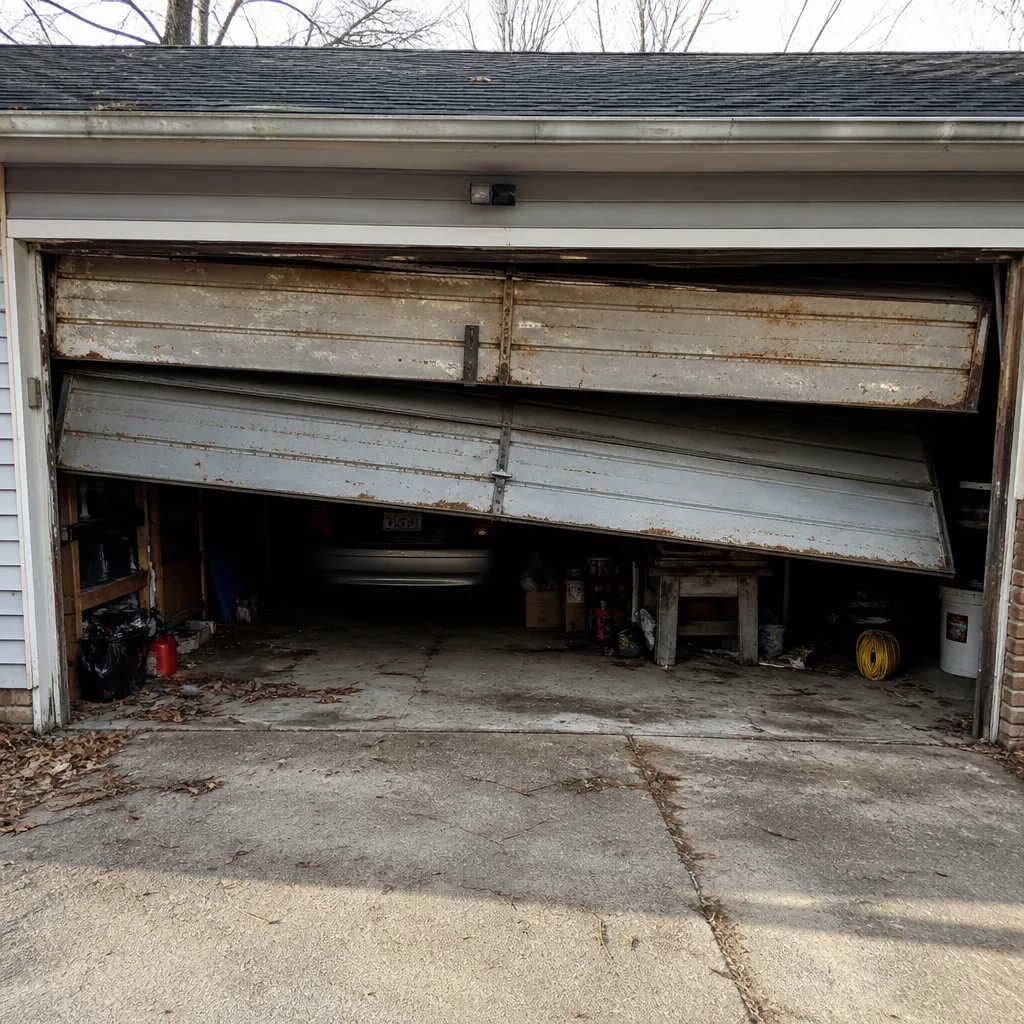 Before
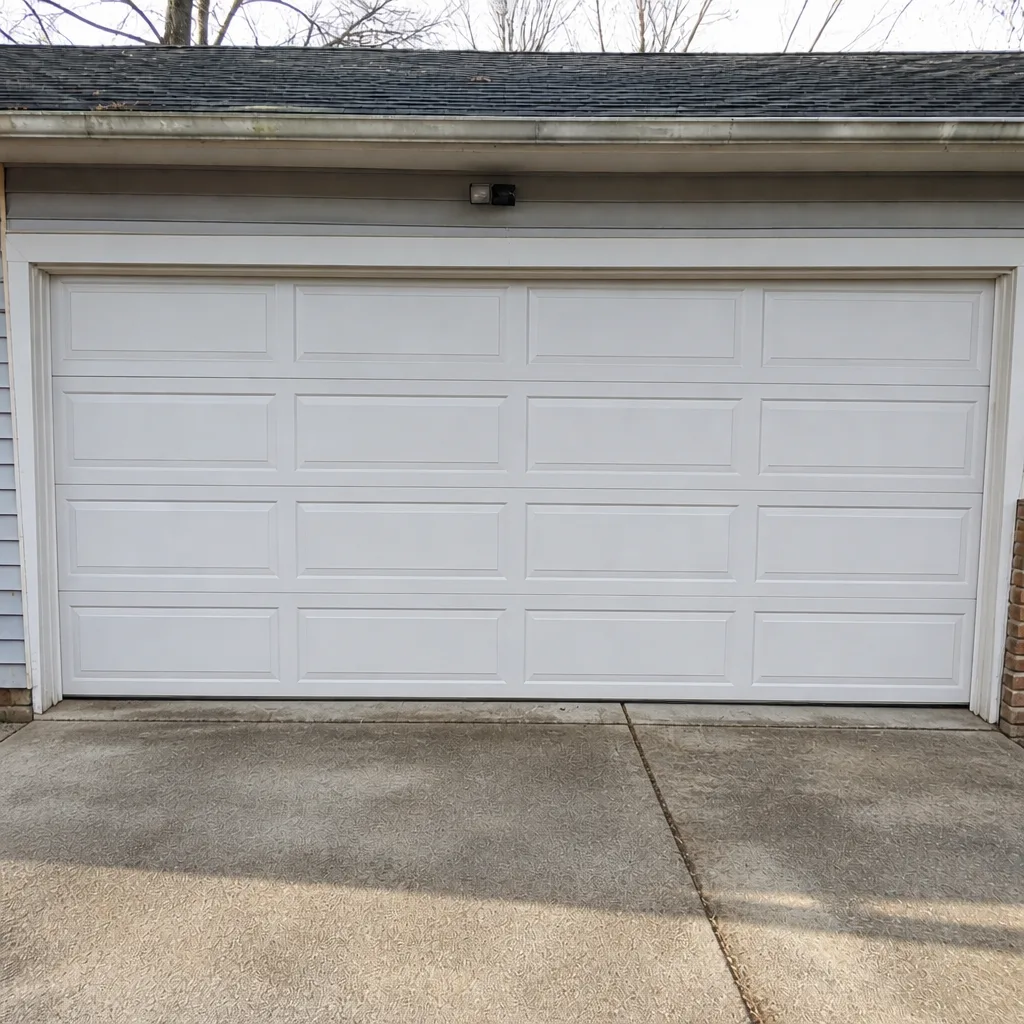 After
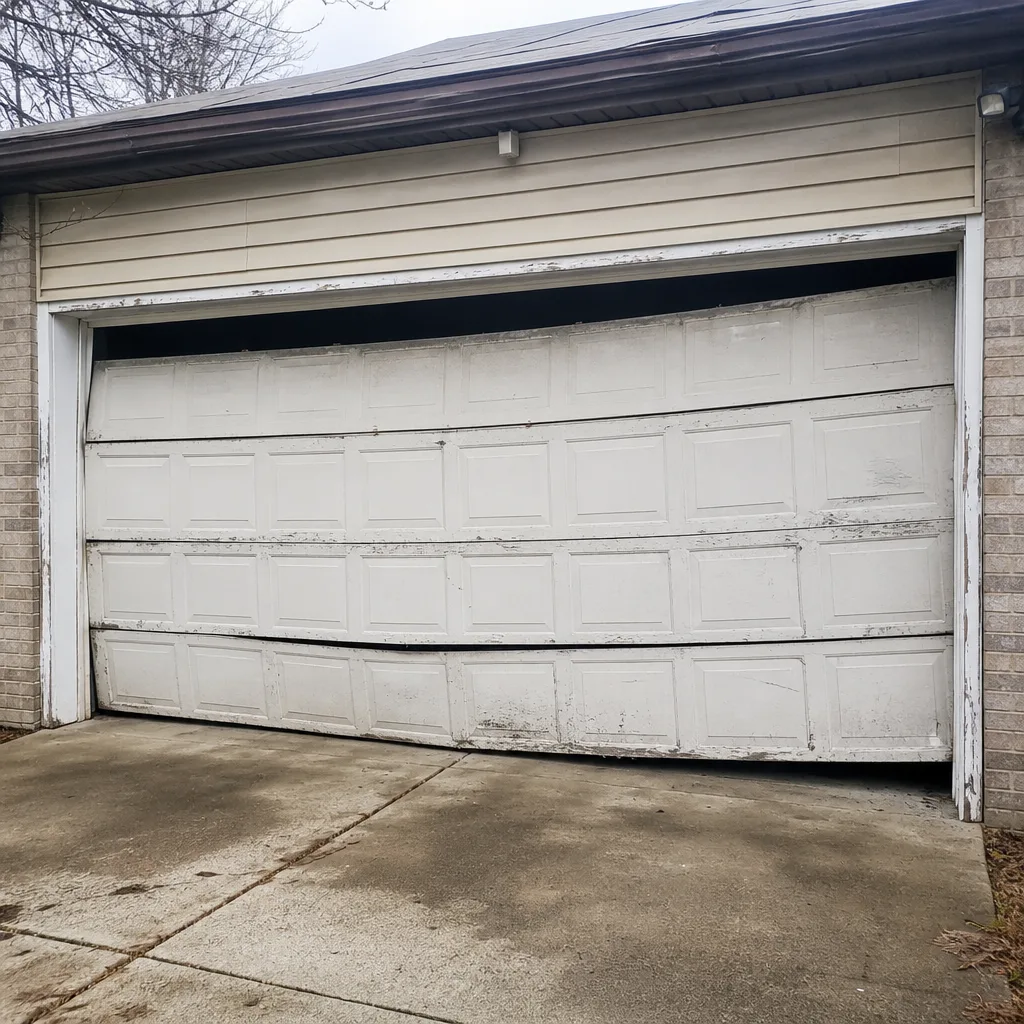 Before
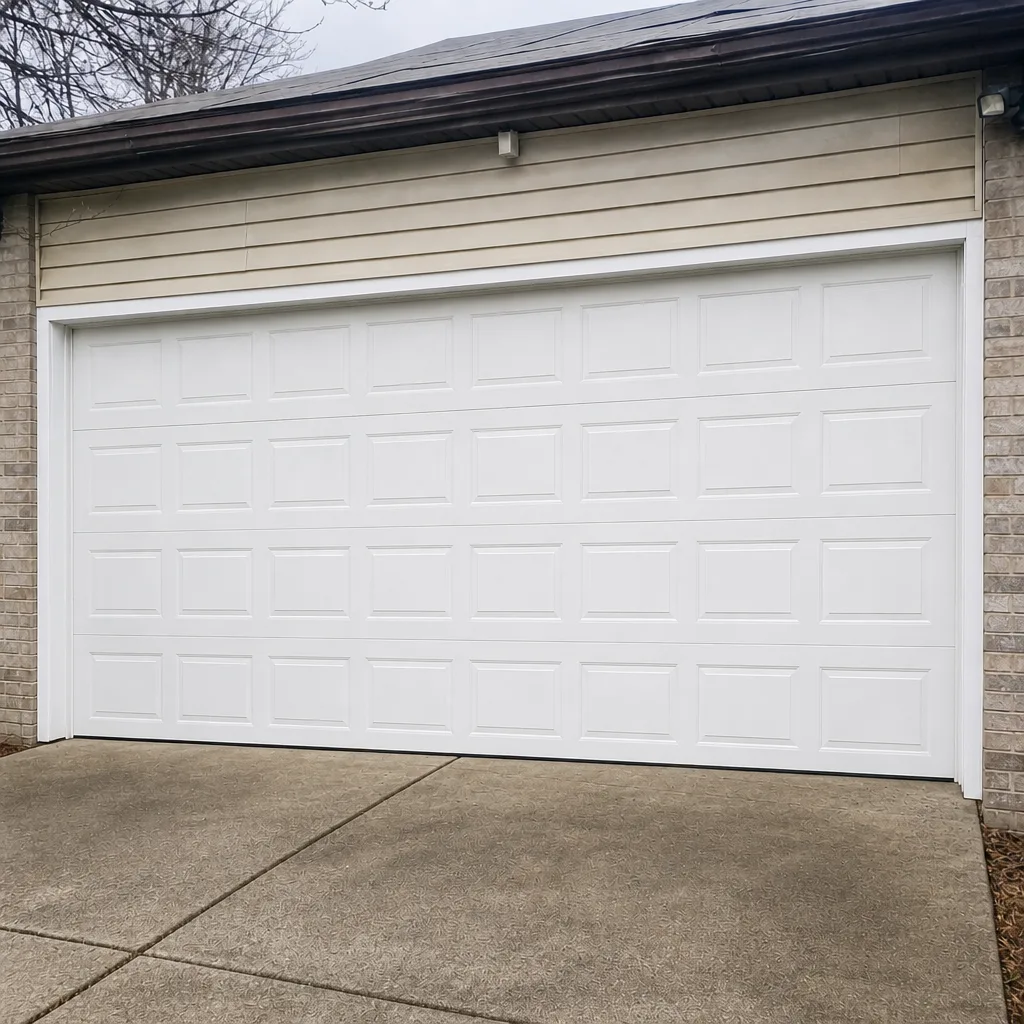 After
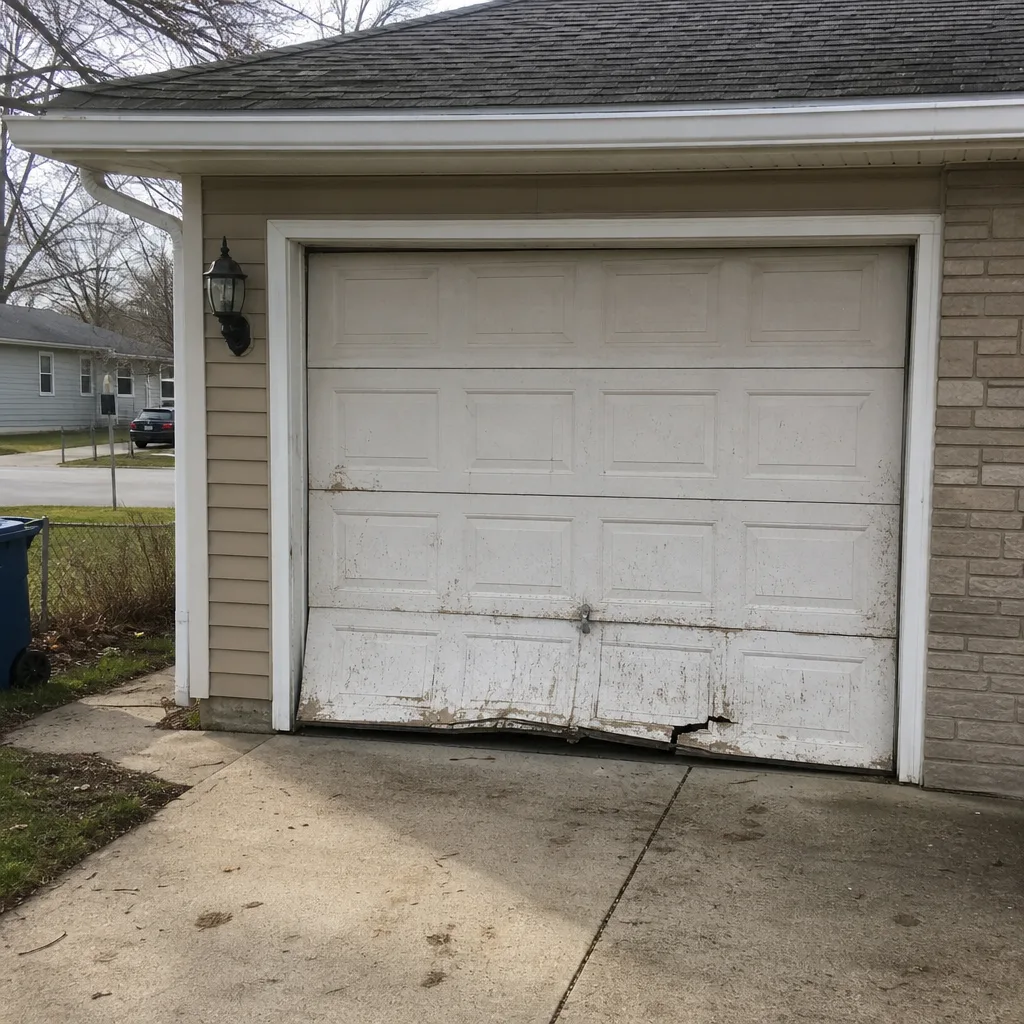 Before
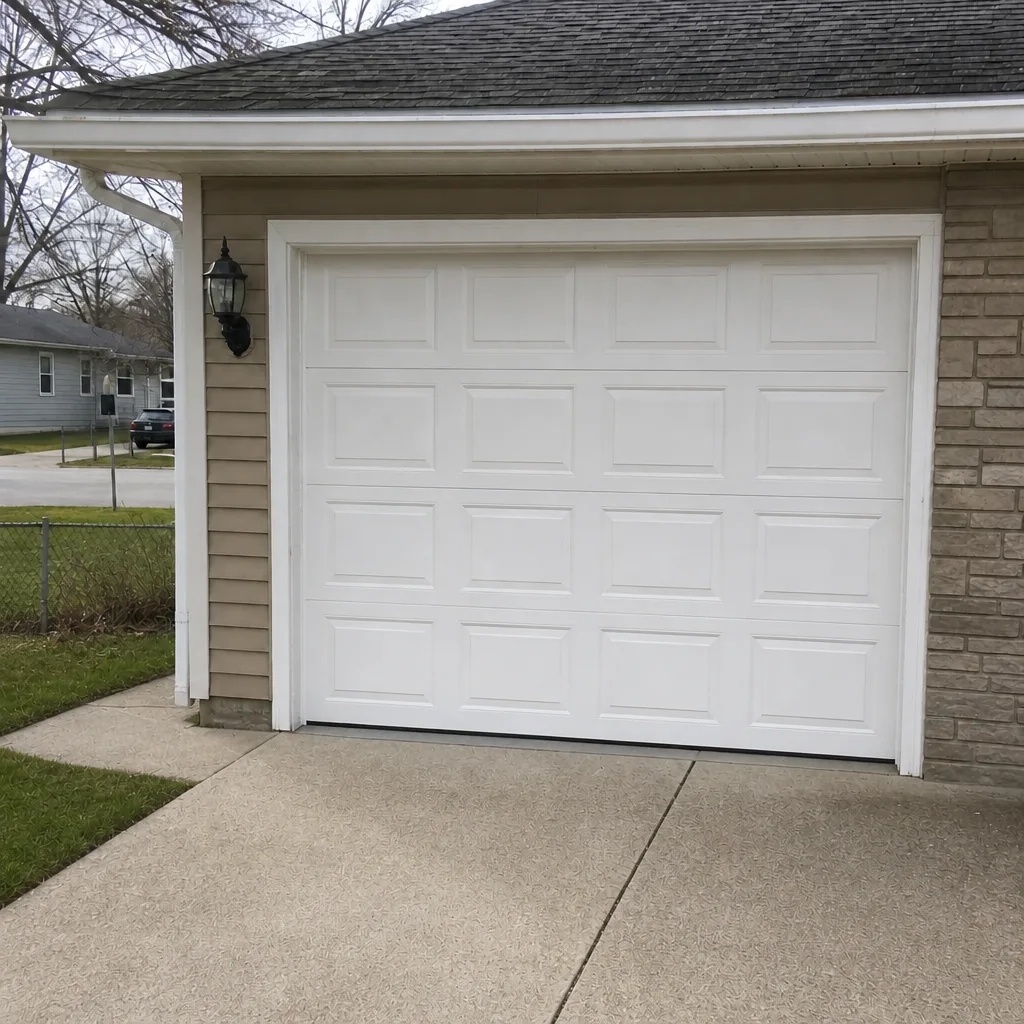 After
When to Call a Professional
Call a professional the moment the task is on the red list above, and call sooner if any of these apply: a snapped or stretched spring, a cable that’s off the drum or frayed, a door that’s crooked or off-track, a door that won’t close and leaves the garage exposed, an opener that hums without moving, or a door that dropped suddenly on its own. Those are time-sensitive repairs – a stuck-open door is a security gap, not a small inconvenience. A snapped spring in Carmel before a weekend with the car trapped inside is the kind of failure where waiting costs more than calling. And if the door has been repaired before and is failing again, that’s a sign to get it looked at properly rather than patched. Carmel Garage Door Repair Co offers free estimates in Carmel – call (855) 904-1455.
Frequently Asked Questions
No. Torsion and extension spring replacement is a professional task because the spring stores roughly 100 foot-pounds of torque when wound, and a slip can cause serious injury. A broken spring is a call-a-professional situation, not a home repair. Call (855) 904-1455 for an exact quote on spring replacement – estimates are free.
Replacing weather seals, aligning photo eyes, lubricating hinges and bearings, reprogramming remotes and keypads, tightening loose hinge bolts, and adjusting opener force and travel through the manual are all safe for a careful homeowner. Anything that involves the springs, cables, or track under tension is not. If you’re unsure which list a task is on, call and describe it – a quick answer is free.
Professional spring repair is quoted per job, and a matched pair usually costs about twice a single spring because both are replaced together. DIY parts cost less, but that price excludes the probability-weighted cost of a failed attempt, warranty loss, and insurance complications. The written estimate sets the final price, and it’s quoted before any work starts. Call (855) 904-1455 for a free estimate.
It can. Clopay, Amarr, Wayne Dalton, and Raynor warranty terms tie coverage to proper service, and LiftMaster, Chamberlain, Genie, and Craftsman opener warranties can be narrowed if the opener is forced against a stuck door. The safe rule is DIY only on the green-list tasks that don’t involve the door’s structural systems.
No. A written estimate quotes the work before it starts, and the final price is the number on that estimate unless you approve additional work. If the diagnosis reveals something the estimate didn’t cover, it’s discussed with you before anything is done. You’ll never get an invoice bigger than the quote.
The local professionals we connect you with are licensed and insured as their state requires. Our technicians have up to 9 years of experience across LiftMaster, Chamberlain, Genie, Clopay, Amarr, Wayne Dalton, Craftsman, and Raynor equipment. Call (855) 904-1455 for an exact quote – estimates are free.
Repair calls – including spring, cable, track, and opener failures – are answered with same-day service where the schedule allows. Installation and replacement work is measured, ordered, and scheduled rather than same-day. For a door that won’t close, call (855) 904-1455 and describe the symptom.
The Bottom Line
The DIY-vs-professional decision for a garage door isn’t about whether you’re handy – it’s about which tasks have tolerable failure modes. Weather seals, lubrication, photo eyes, and remote programming are yours to do. Springs, cables, and tracks under tension are not, and the cost math behind that split gets worse for DIY the moment you factor in injury risk, warranty exposure, and insurance. In Carmel, the smart path is to diagnose carefully, handle the green-list maintenance yourself, and hand the red-list work to a specialist who’ll quote the price before starting. From a glitchy opener to a complete new door system, one specialist can carry the job through to the end.
If your door is stuck, spring is snapped, or opener is failing, call Carmel Garage Door Repair Co at (855) 904-1455 for a free estimate. We’ll tell you what’s actually wrong and what it costs before any work begins.
Written by the team at Carmel Garage Door Repair Co.