Last updated November 21, 2026
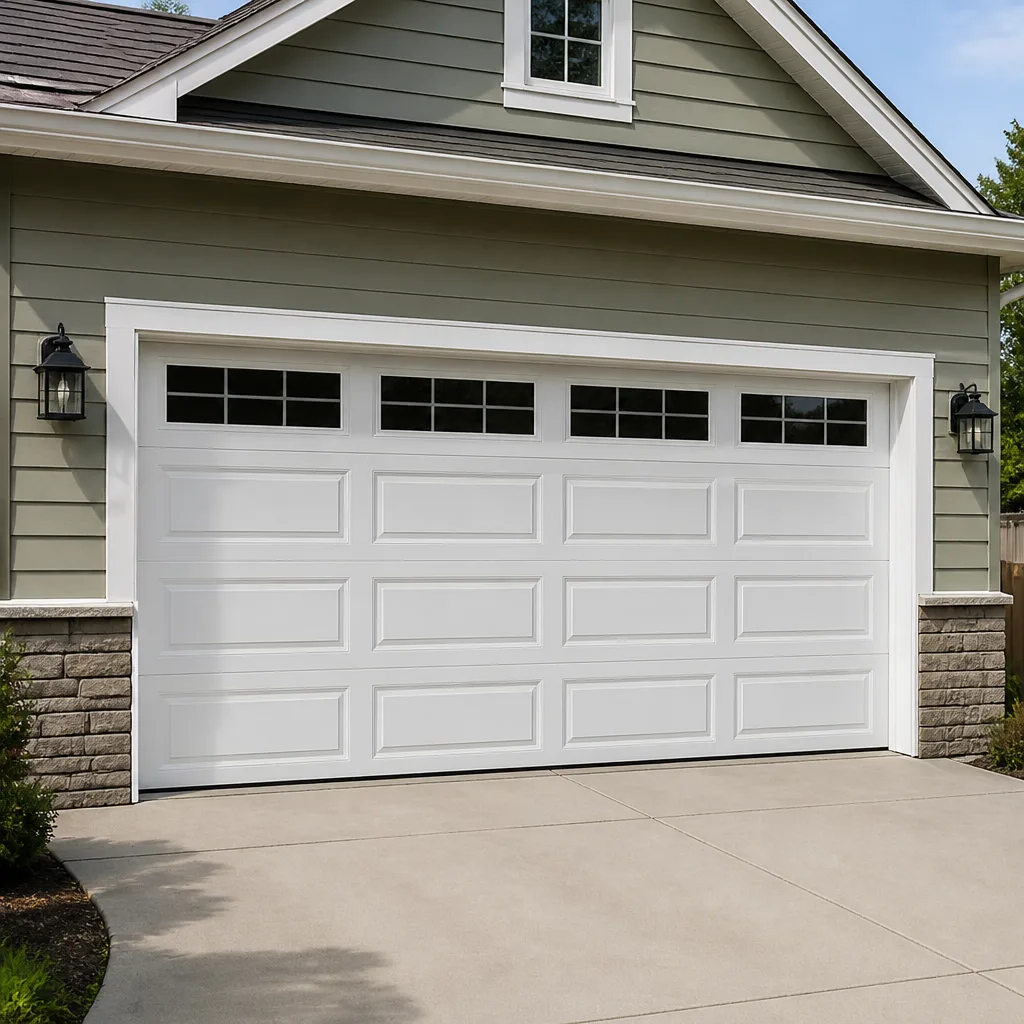 Raised-panel steel
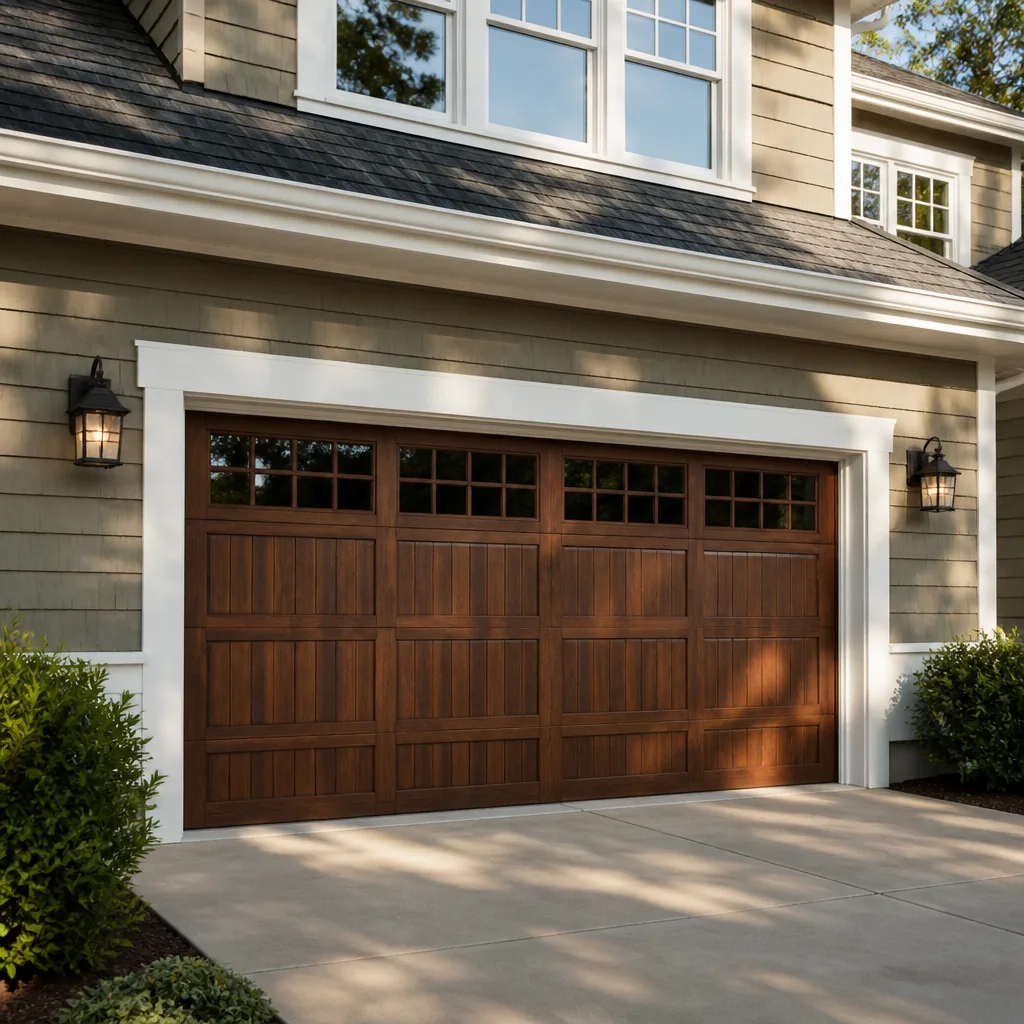
 Carriage house
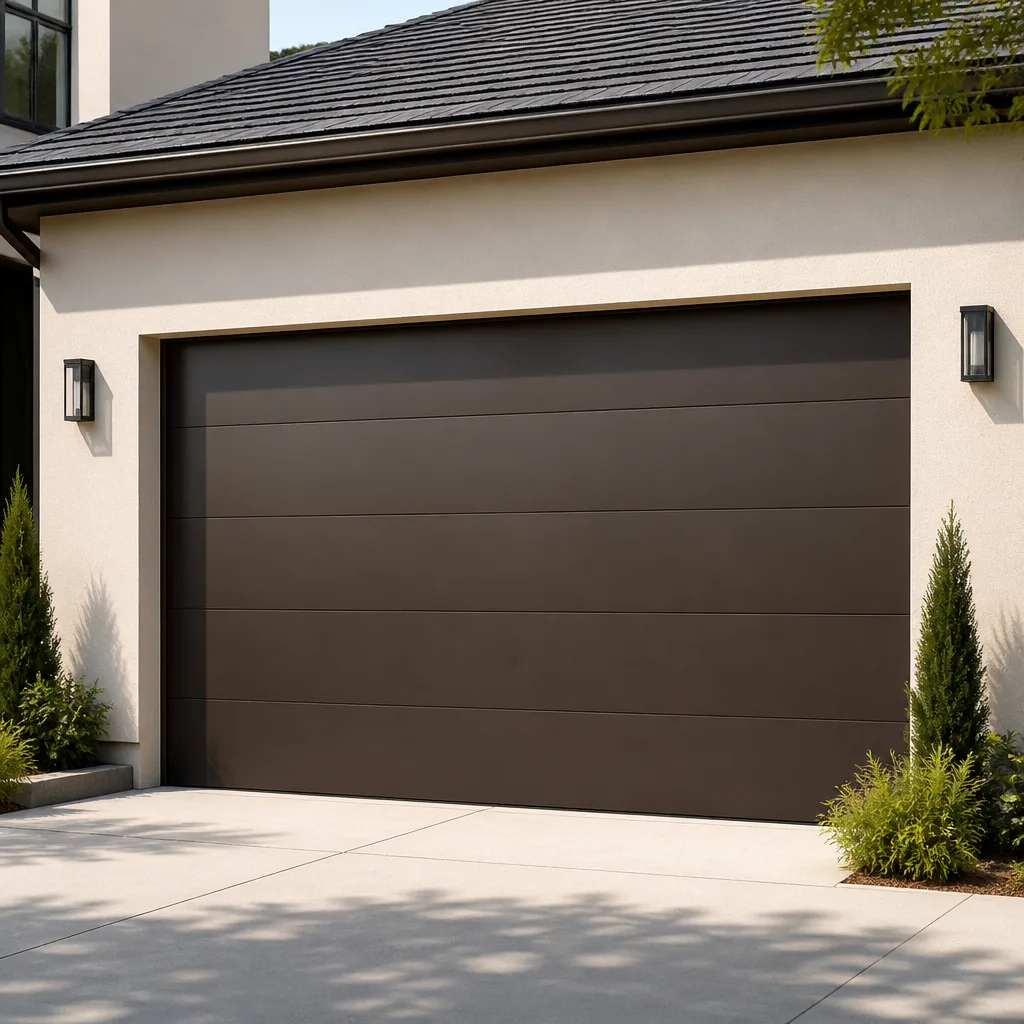 Modern flush
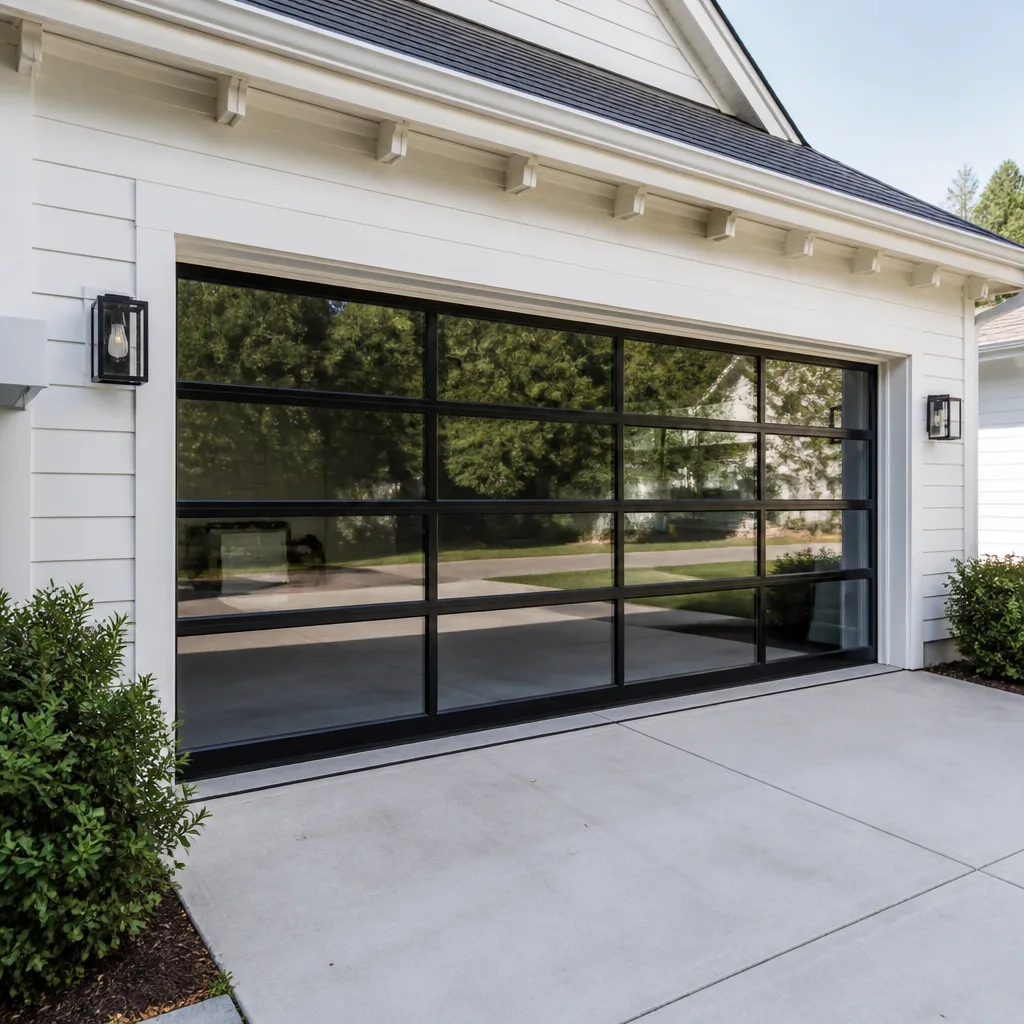 Full-view glass
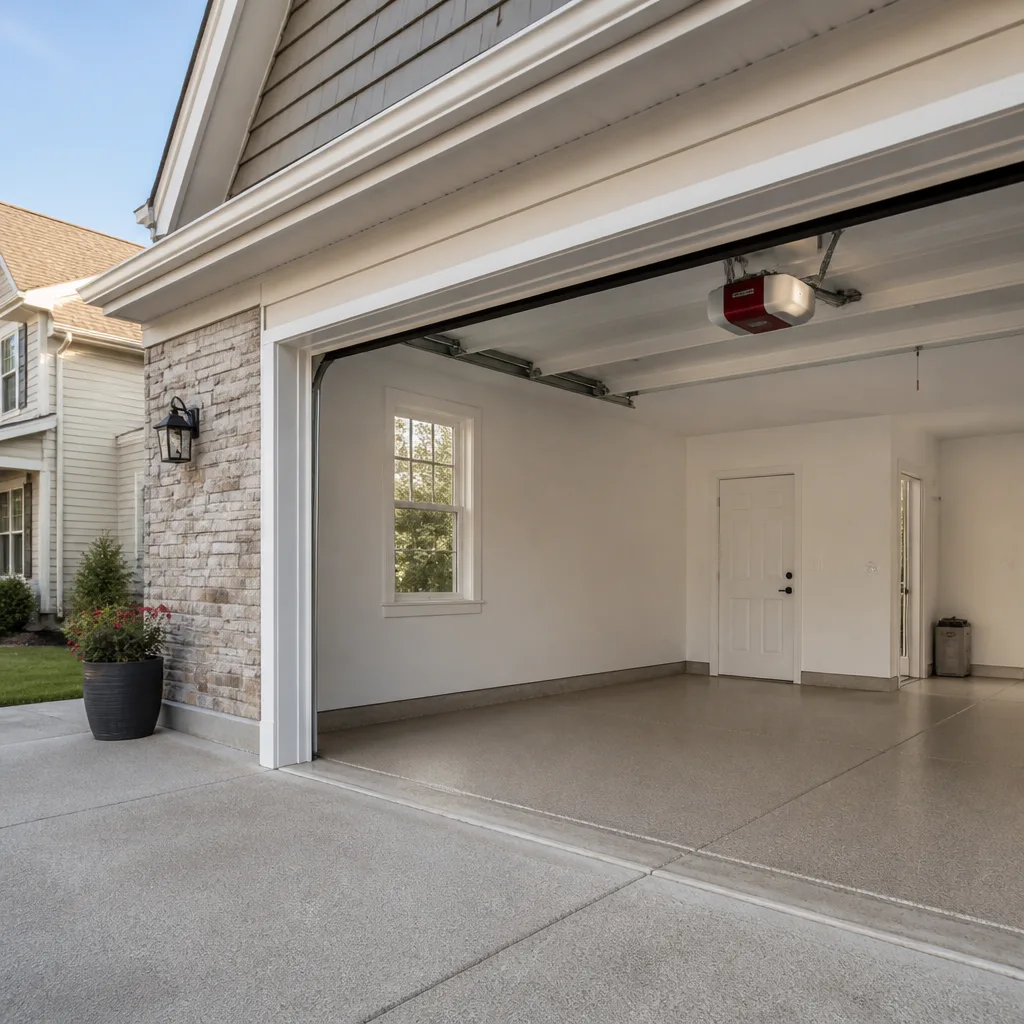 LiftMaster openers
 Chamberlain openers
Full 25-point door and opener safety check with every visit - springs, cables, rollers, tracks, and your LiftMaster or Chamberlain opener included
You get a price before we start. It does not change when the pro arrives.
Get your free estimateGarage Door Repair Maintenance Checklist for Carmel Homeowners
The most repeated piece of garage door advice on the internet is also the one most likely to cost you money: lubricate the chain. On a chain-drive Chamberlain or LiftMaster opener, over-lubricating is a leading cause of premature drive gear failure, because grease holds grit that grinds the gear teeth down. Most generic checklists are recycled, and a few of their instructions actively shorten the life of the equipment. This guide is built around the parts, brands and weather stresses that actually drive service calls in Carmel. You’ll learn what to lubricate and what never to touch, how to read spring life before it snaps, and which inspections catch a failing door before it strands your car.
Quick Answer
A useful garage door maintenance checklist covers lubrication of the right parts with the right product, spring cycle-life tracking, photo-eye alignment, seal and weatherstrip inspection tied to Carmel’s freeze-thaw cycle, and a visual check of cables, drums and winding cones. Most of it takes under 30 minutes a few times a year. The tasks that involve torsion springs, cables or the opener’s internal gearing are best left to a trained specialist.
Styles & brands we work with
- Raised-panel steel
- Carriage house
- Modern flush
- Full-view glass
- LiftMaster openers
- Chamberlain openers
Table of Contents
- Part-Specific Lubrication: What Gets Oil and What Never Does
- Torsion Spring Cycle Life: Estimating What’s Left
- Photo-Eye Alignment and the Error Codes That Warn You First
- Bottom Seals, Weatherstrip and Carmel’s Freeze-Thaw Calendar
- Cable, Drum and Winding Cone Inspection
- The Balance Test and Roller Check
- Opener Care: Force Settings, Travel Limits and Drive Systems
- A Seasonal Schedule for Carmel Households
Part-Specific Lubrication: What Gets Oil and What Never Does
Lubrication is the single most misunderstood item on any maintenance list because “the garage door” is not one moving part. Different components need different products, and one of them needs nothing at all. Get this section right and you’ll prevent most of the wear that leads to premature garage door repair calls in Carmel.
- Torsion spring coils: A light coat of garage door lubricant or a silicone-based spray on the coils reduces friction between the coils as the spring winds and unwinds. Apply sparingly. Never use heavy grease here; it traps dust that grinds between the coils.
- Roller bearings and stems: These get the most lubrication of anything on the door. A few drops on each roller stem, where the roller sits in the hinge, keeps the roller turning freely in the track instead of skidding.
- Hinges: The pivot points of each hinge need a drop or two. This is the quietest, easiest part of the whole job.
- Track surface: nothing. This is the big one. The inside of the vertical and horizontal tracks stays dry. A greasy track collects grit and makes the rollers slide rather than roll. If your door sounds loud at the track, the problem is roller condition, not missing lube.
- Chain-drive opener chain: Most chains come factory-lubricated and need very little. Over-lubricating a Chamberlain or LiftMaster chain drive is a leading cause of premature drive gear failure, because the grease collects debris that wears the gear teeth. A light wipe-down is usually all that’s called for.
- Belt-drive opener belts: These are designed to run dry. Do not lubricate a belt; it will slip.
If you’re not sure what’s on your door, our technicians work on the brand already installed, from Genie and LiftMaster units to Clopay and Amarr doors, and can tell you what each part needs at a free estimate. Lubrication is a straightforward task, but it’s easy to apply the wrong product to the wrong component. When in doubt, ask before you spray.
Torsion Spring Cycle Life: Estimating What’s Left
A standard torsion spring is rated for about 10,000 cycles, and one cycle is one full open and one full close. That number is the key to knowing roughly when a spring is near the end of its life. A Carmel household that opens and closes the door four times a day uses about 1,460 cycles a year, so a standard spring is typically good for around six to seven years of that routine. A household that runs the door ten times a day cuts that to under three years.
“Cycles” is the honest way to think about spring life, and it beats “years” every time. Two houses on the same street can have wildly different spring wear based on habit alone. Here’s how to estimate where your springs stand:
- Count your daily cycles. Each arrival, each departure, each trip to the mailbox through the garage counts. A rough tally over a week tells you the real number.
- Multiply by 365 to get your annual cycle count.
- Divide 10,000 by that number to get the years a standard spring should last at your usage.
- Subtract the age of the current spring if you know it. If you don’t, look for the telltale signs below.
- Watch for the warnings: a door that feels heavier than usual, a gap in a spring coil, or a door that won’t stay up halfway. Any of these means the spring is on its way out.
Written on the winding cone of most torsion springs is a paint stripe or stamped code that identifies the wire size, inside diameter and length. That code is how a technician matches a replacement spring to your door without guesswork. We treat spring repair as its own specialty because it is one of the most dangerous, technique-sensitive repairs in the trade: a torsion spring is under extreme tension, and a mishandled spring can cause serious injury. Do not attempt to wind, unwind or remove one yourself. When the math says your spring is near the end of its cycle life, call and have it measured properly.
Photo-Eye Alignment and the Error Codes That Warn You First
The safety photo eyes at the bottom of your tracks are two small sensors that tell the opener whether something is in the door’s path. When they drift out of alignment, the opener refuses to close the door for safety, and that’s when a morning becomes a scramble. The good news: these are easy to check before they fail, and modern openers often warn you first with a specific error code.
LiftMaster and Chamberlain units commonly signal a photo-eye fault with a diagnostic LED pattern or a code in the MyQ app; Genie units use their own LED blink sequences. Every opener brand has its own diagnostic language, so it pays to have the manual. Here’s the check we recommend every few weeks:
- Look at both eyes. Each sensor has a small LED. A steady light on the sending and receiving unit means they’re talking. A flickering or dark LED on one side means the beam is broken or the sensor is failing.
- Wipe both lenses. Dust, spider webs and pollen are common causes of a drifting signal in Carmel, where the door faces the weather most of the year.
- Check the brackets. Nudge each sensor gently. If it moves easily, the bracket is loose and the alignment will drift again.
- Re-aim if needed by loosening the wing nut, pointing the sensor so its beam hits the partner squarely, and tightening it down.
- Test the safety reverse. With the door open, pass a hand or a box through the beam. The door should not close.
If the lights are steady but the door still won’t close, the problem is usually in the opener’s wiring or logic board rather than the eyes. That’s a case for garage door opener repair, and it’s worth knowing that this applies across the ecosystem of smart, belt-drive, chain-drive and wall-mount units. When a door won’t close at all, the home is left open to the weather and to whatever walks in. Call (855) 904-1455 and we’ll get it diagnosed.
Bottom Seals, Weatherstrip and Carmel’s Freeze-Thaw Calendar
The bottom seal under your door is the part most exposed to Carmel’s freeze-thaw cycle, and its failure window is predictable. Water that gets under a cracked or hardened seal freezes overnight, expands, and pries the seal further from the door. The two stretches when this does the most damage are late November, as the first hard freezes set in, and March, when the ground thaws and meltwater pools against the sill. Those are the two windows to inspect the seal closely.
A failed bottom seal costs you more than a draft. It lets water into the garage, where it can reach stored goods, the water heater or the base of the wall. It also lets cold air under the door, which makes the garage and any room above it harder to keep warm. Here’s what to look for:
- Cracks or splits in the rubber or vinyl along the bottom edge
- A seal that has shrunk away from the door on either side, leaving a gap at the corners
- Hard, brittle rubber that no longer flexes against the floor
- Water stains or rust along the bottom panel or the concrete sill
- Daylight visible under the closed door
The side and top weatherstrip needs the same attention. Look for gaps at the corners, torn brush seals and weatherstrip that has pulled away from the frame. Replace anything that’s failing before the next freeze. A bottom seal is one of the least expensive parts on the door, and it prevents some of the most annoying water damage. If you’re unsure whether yours is at the end of its life, a quick look from a technician during any service visit settles it. We also see this during full garage door installation, where a properly fitted seal and weatherstrip from the start prevents years of trouble.
Cable, Drum and Winding Cone Inspection
The cables and drums are what actually lift the door, and their failures are the most likely to turn into an emergency call. A cable that’s starting to fray can look fine from a distance and snap without warning. The inspection itself is visual only. Do not put your hands near the cables, drums or winding cones, and don’t try to adjust them. A cable under tension can cause severe injury.
Here’s what a trained eye looks for, and what you can safely spot from a distance:
- Cable fraying: Any broken strands, even a few, mean the cable is compromised. Fraying often starts where the cable winds onto the drum. Look for a fuzzy or “hairy” appearance.
- Rust pitting on the drums: Small rust pits on the drum flange are the first sign the metal is thinning. Left alone, pitting grows into cracks.
- Cracking at the winding cone: Hairline cracks around the cone where it meets the spring are a red flag. A cracked cone can release the spring under tension.
- Uneven cable tension: If one side of the door rises faster than the other, or the door looks slightly crooked when closed, the cables are out of balance.
- Loose or slack cable: A cable that has jumped off the drum is a stop-and-call situation, not a keep-using-it situation.
These parts are the highest-stress links in the whole system, and they wear at the same rate as the springs. If your door is older and the springs are near the end of their cycle life, the cables and drums deserve a look at the same time. Our technicians have up to 9 years of experience reading these wear patterns, and the difference between a part that’s “fine for now” and one that’s “call it in this week” is usually obvious on inspection.
The Balance Test and Roller Check
A balanced door does most of the work of lifting itself, which means the opener only has to guide it. An unbalanced door, on the other hand, forces the opener to carry the whole load. That’s how openers fail prematurely. The balance test tells you whether your springs and cables are doing their job.
- Disconnect the opener. Pull the release cord so the door runs manually.
- Raise the door halfway to about waist height and let go.
- Watch what it does. A balanced door stays put. A door that drops is under-sprung; a door that drifts up is over-sprung. Either way, the springs need attention.
- Reconnect the opener by closing the door and re-engaging the trolley.
While the door is manual, check the rollers. Nylon rollers should spin freely without wobble; steel rollers should turn without grinding. A roller that’s flat-spotted or seized in its hinge will drag on the track, wear the tracks, and make the door loud. A door with thirteen rollers losing one is not an emergency, but it’s cheap to fix before it damages the track. Our full-scope garage door repair service covers rollers, hinges, tracks, springs and cables in one visit. The right fix here is usually a handful of parts, not a new door, and we’ll tell you which is which.
Opener Care: Force Settings, Travel Limits and Drive Systems
The opener is the brain of the system, and most of its maintenance is about not letting the mechanical parts fight it. The force settings and travel limits control how hard the opener pushes and how far the door travels. If either drifts, the opener can force a misaligned or obstructed door, damaging the door and the opener at the same time.
On a LiftMaster or Chamberlain unit, the force and travel adjustments are behind the light lens or on the back panel, depending on the model. Genie and Craftsman openers place them in their own spots. The settings themselves are set at installation and only need revisiting if the door starts behaving oddly, such as reversing on close or stopping short of the floor. Don’t turn the screws to “see what happens”; a force setting that’s too high defeats the safety reverse. If your door is reversing randomly or stopping partway, the fix is usually an adjustment by a technician, not a replacement opener.
Drive system matters too. Chain drives are durable and can be a little louder; belt drives run quieter but need a dry belt; wall-mount units mount beside the door and are popular where ceiling space is tight or quiet is a priority. Smart features like Wi-Fi and app control also live in the opener, and a dropped Wi-Fi connection is not a door failure. We work on the full range of drive types and smart openers across the major brands. When a door fails, our emergency garage door service is built to respond: when your door won’t move, we move fast. If the opener itself is the problem, that’s a case for garage door opener repair rather than a full replacement.
A Seasonal Schedule for Carmel Households
The best maintenance plan is a short one you’ll actually follow. A few tasks a few times a year prevents most emergency calls. Here’s a schedule built around Carmel’s conditions and the parts that wear first.
- Every month: Test the photo eyes and the safety reverse. Wipe the sensor lenses and check the balance test if the door feels off.
- Every three months: Lubricate the springs, roller stems and hinges. Inspect the bottom seal for cracks. Look at the cables for fraying.
- Late October or early November: Check the bottom seal and weatherstrip before the first hard freeze. Address any gaps or cracks now, before freeze-thaw damage sets in.
- Early March: Re-check the seal and sill after the thaw. Look for water intrusion along the bottom panel and the concrete sill.
- Once a year: A full inspection of springs, cables, drums and winding cones by a technician. This is the visit that catches the parts you can’t safely look at yourself.
This is the checklist we’d give our own neighbors, and it reflects what we actually see in Carmel. The seasonal rhythm matters here because the freeze-thaw cycle does more damage to the seals than to the operator, and that’s not true of every climate. Adjust the frequency to how often you use the door. A household with two cars and a driver coming and going all day needs more attention than a door that opens twice a day.
Common Mistakes to Avoid
- Lubricating the track surface. Greasy tracks collect grit and make rollers slide instead of roll. Keep the track dry and clean.
- Over-lubricating a chain-drive opener. On Chamberlain and LiftMaster chain drives, too much grease is a leading cause of premature drive gear failure. Less is more.
- Lubricating a belt drive. A belt runs dry by design. Adding oil makes it slip.
- Ignoring spring cycle math. A spring doesn’t owe you a warning; it just snaps. Track your cycles and know when a standard 10,000-cycle spring is near the end.
- Testing photo eyes by hand only. A steady LED doesn’t guarantee the beam is clear. Pass an object through it and watch the door’s reaction.
- Skipping the seal check in November and March. Those are the two windows when water intrusion does the most damage in Carmel. A cheap seal checked in time avoids a wet garage.
- Trying to adjust a torsion spring, cable or winding cone yourself. These are under extreme tension and the most common cause of serious injury in the trade. That’s a job for a trained technician.
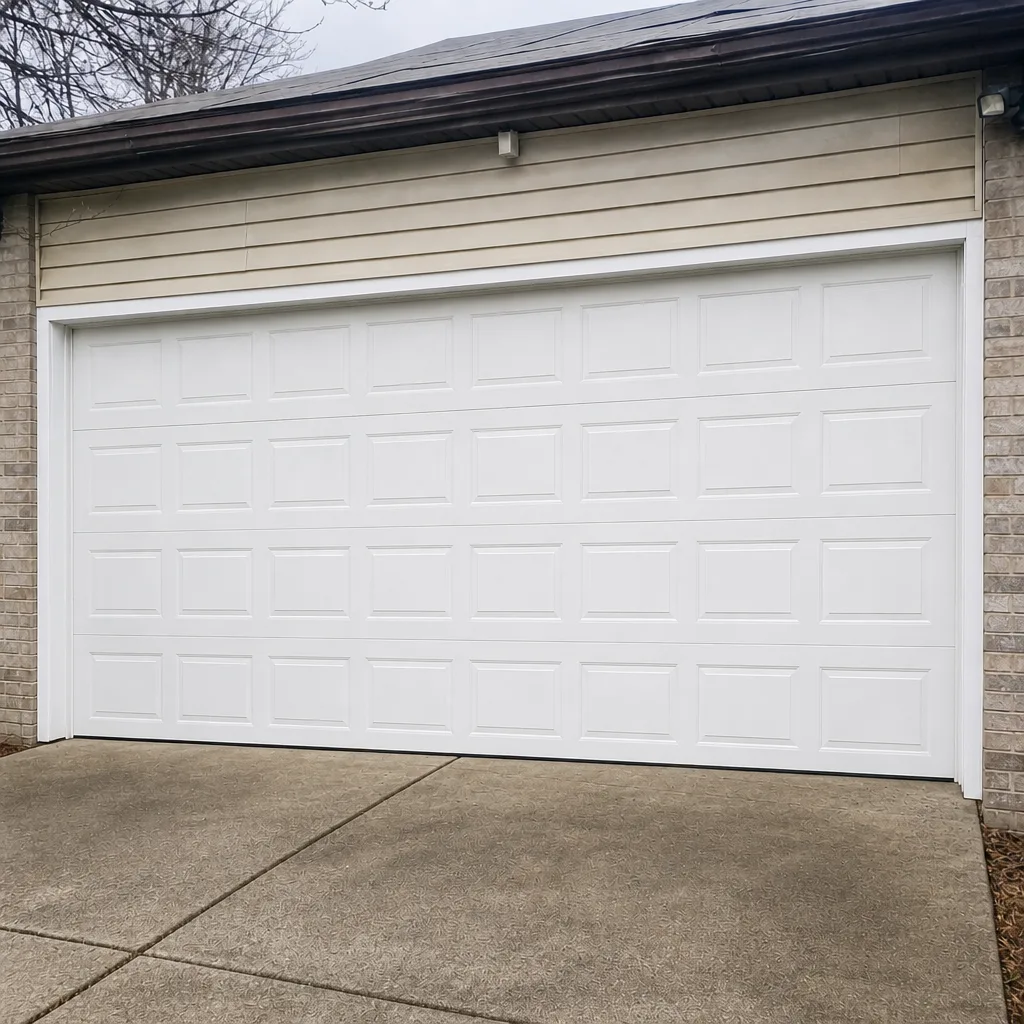
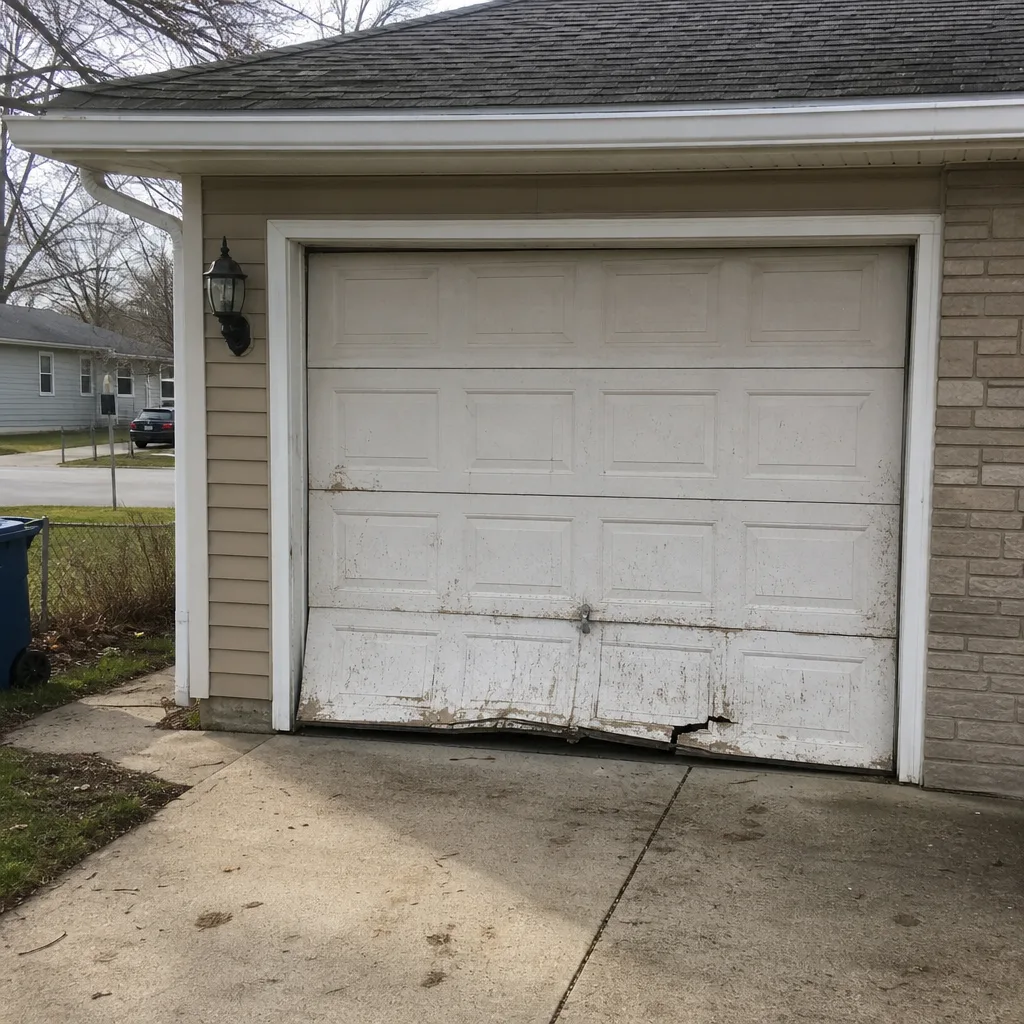
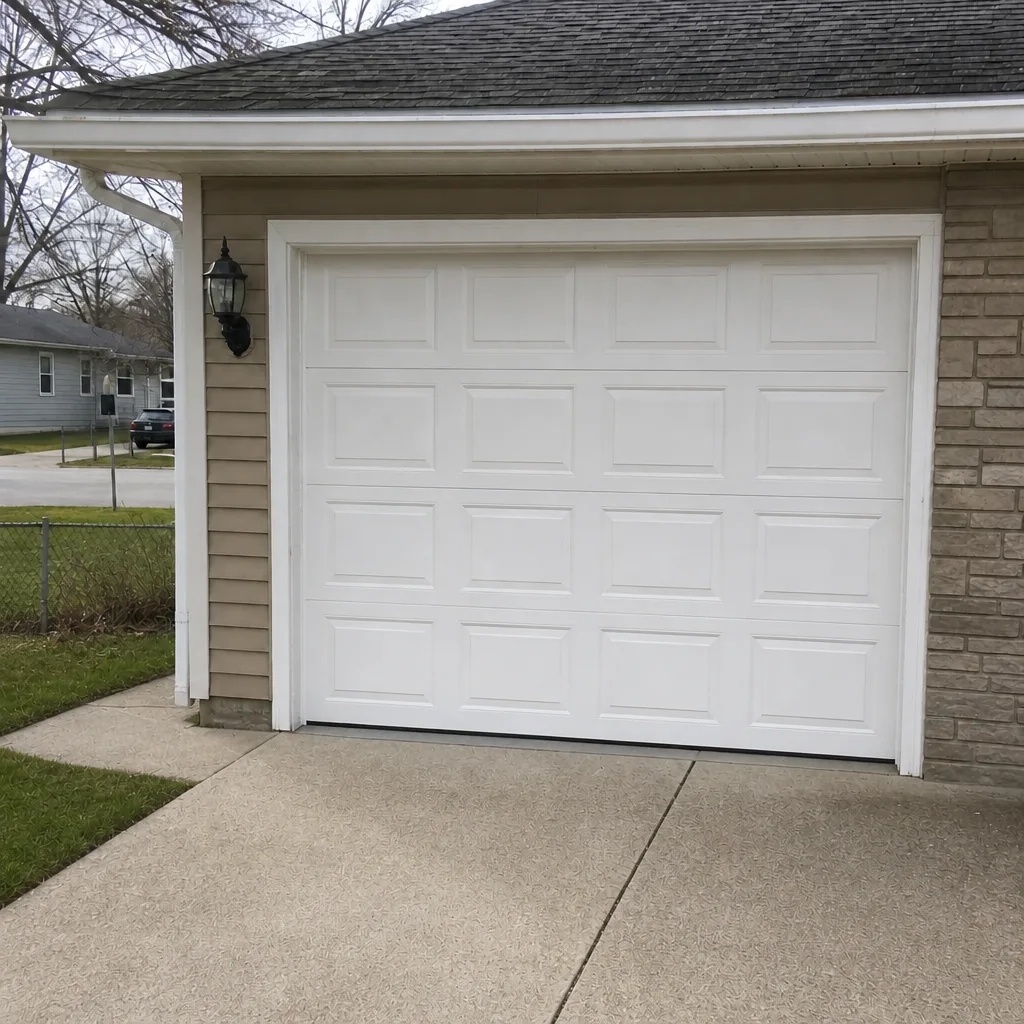
See the difference
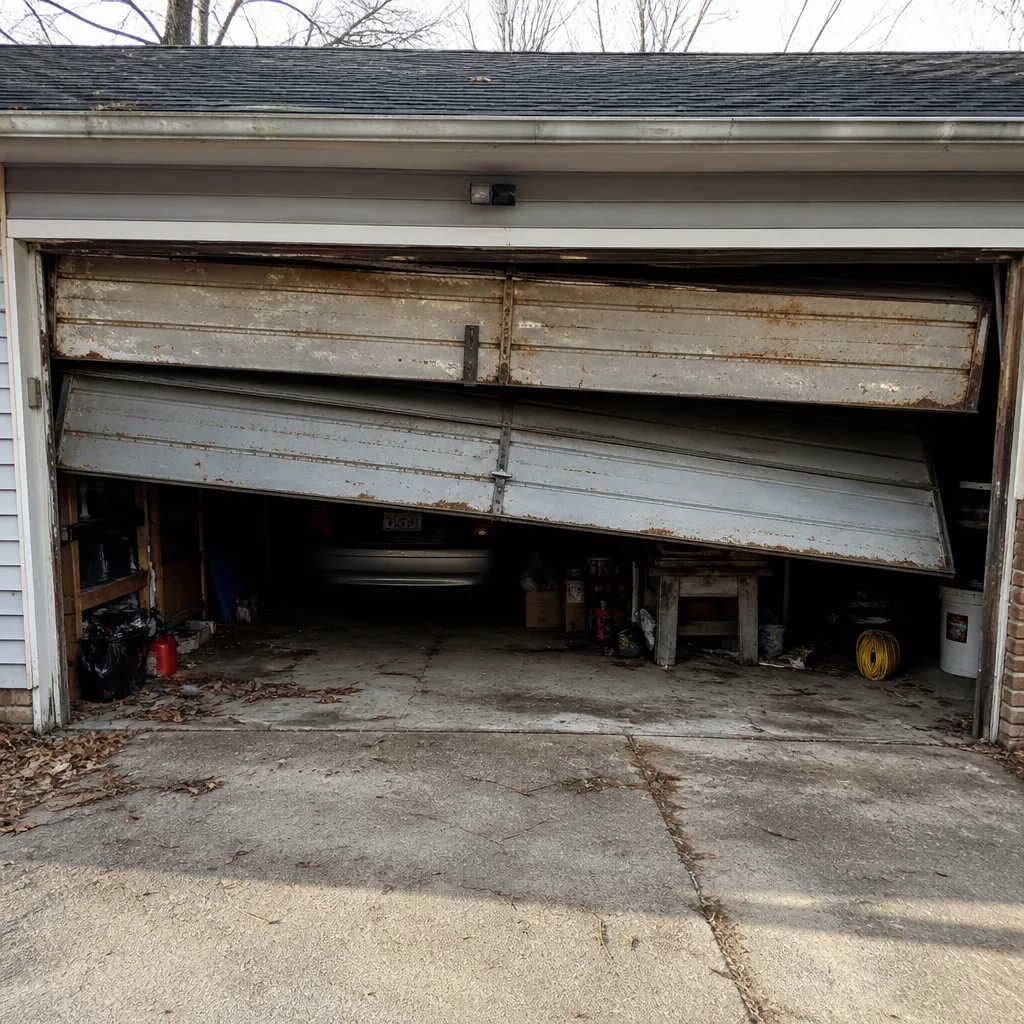 Before
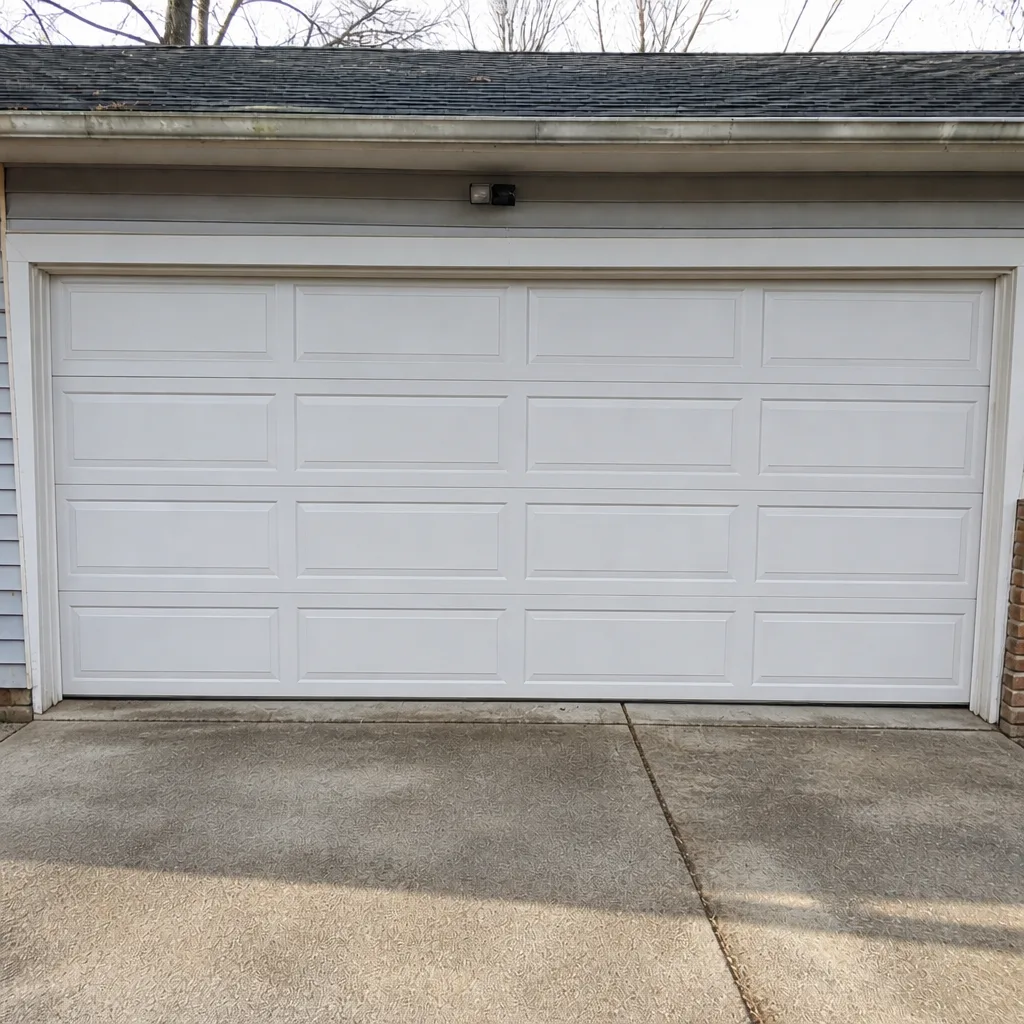 After
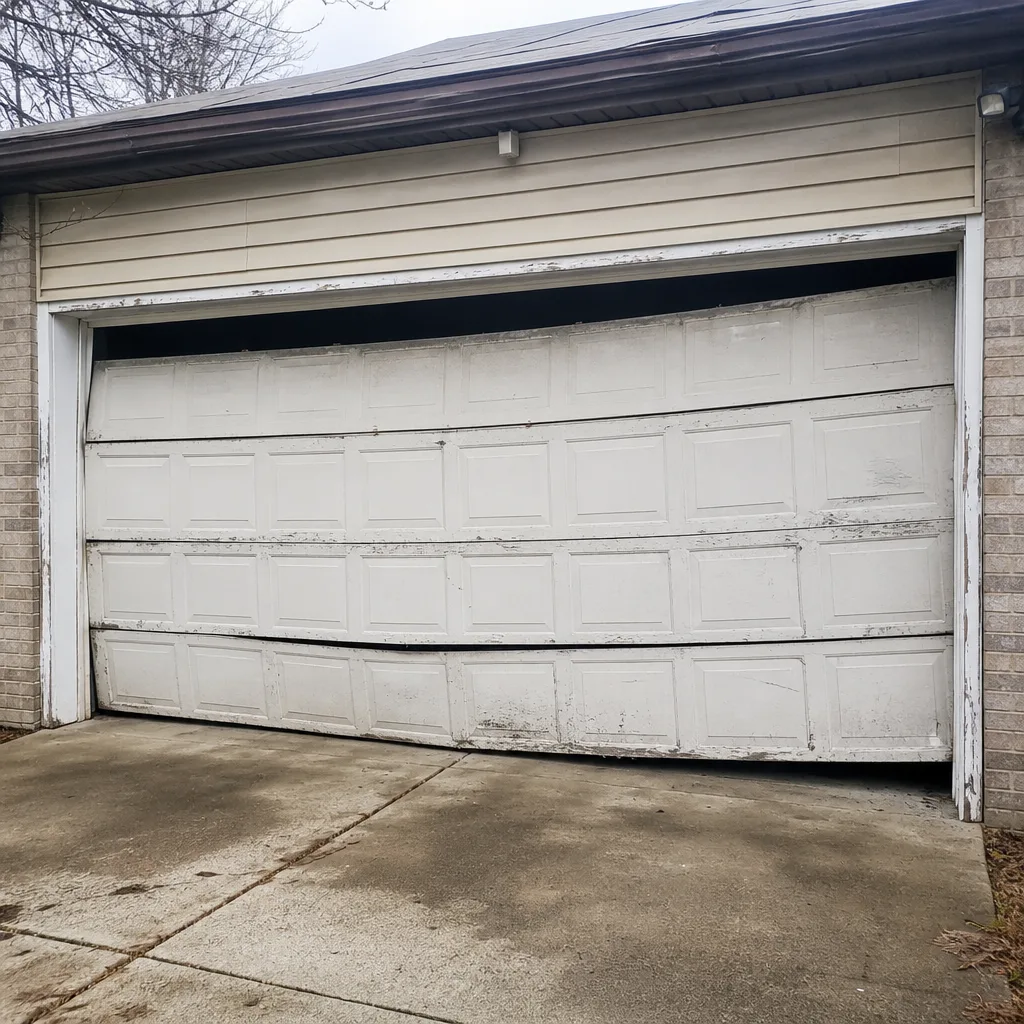 Before
 After
 Before
 After
When to Call a Professional
Call a professional for anything that involves torsion springs, cables, drums or winding cones, and for any adjustment inside the opener’s logic. Also call when the balance test fails, when the door reverses randomly or won’t close, when you spot frayed cable, rust-pitted drums or a cracked cone, or when the door is slow, loud or heavy. If your door won’t open at all and your car is inside, that’s urgent. Basic garage door repair is the right call, and the sooner it’s diagnosed the less it tends to cost. Carmel Garage Door Repair Co offers free estimates in Carmel and can be reached at (855) 904-1455. Technicians who work on your brand will tell you what’s actually worn and what the right fix is, not the easiest upsell.
Frequently Asked Questions
Every three months is a good rule for a household that uses the door daily. Lubricate the torsion spring coils, roller stems and hinges, but keep the track surface and any belt drive dry. On a chain-drive Chamberlain or LiftMaster, use very little lube on the chain, because over-lubricating is a leading cause of premature drive gear failure.
A standard torsion spring is rated for about 10,000 cycles. At four opens and closes a day, that’s roughly six to seven years; at ten a day, under three years. The number of cycles matters more than age, so count your daily use and compare it to your spring. Call (855) 904-1455 when the math says the spring is near the end.
A photo-eye error means the opener isn’t getting a clear signal from the sensors at the bottom of the tracks. LiftMaster and Chamberlain units show this with an LED pattern or an app code, and Genie units use their own blink sequence. Start by wiping the lenses and checking the brackets, then call for help if the lights are steady but the door still won’t close.
A bottom seal is a simple part, and some homeowners handle it themselves. The catch is getting the right seal size for a Genie, Clopay, Amarr or Wayne Dalton door and fitting it so it seals against a slightly uneven floor. If the door has water intrusion or the seal keeps coming loose, have a technician look at it. Free estimates are available.
Look for broken strands at the drum, a fuzzy appearance, a crooked door, or a door that rises faster on one side. Rust pitting on the drums and cracks at the winding cone are also early warnings. Don’t touch the cables yourself; they’re under tension. Call (855) 904-1455 and we’ll inspect them safely.
It depends on the failure and the brand, and the answer is often “repair.” A chain or belt that’s slipping, a bad logic board or a dropped Wi-Fi connection are all fixable on LiftMaster, Chamberlain, Genie and Craftsman models. If the opener is old and the door has other problems, a technician can tell you whether repair or replacement makes more sense.
The Bottom Line
Garage door maintenance is mostly about doing the right few things well: lubricating the parts that need it and leaving the track alone, tracking spring cycle life, testing the photo eyes, checking the seals before the November freeze and after the March thaw, and having a technician look at the cables, drums and cones once a year. The parts that fail without warning are the ones under tension, so let a specialist handle those. Our technicians have up to 9 years of experience across the major brands and drive systems, and we’re happy to check your checklist against your actual door. Call (855) 904-1455 for a free estimate.
Written by the team at Carmel Garage Door Repair Co.